Amazon is the world’s largest online marketplace where customers from all over the world can buy or sell products. Until recently, Pakistan was not registered as a seller country with Amazon. So, the sellers had to approach any of their friends or family abroad to register as Amazon sellers. But, now anyone can create an Amazon Seller account from Pakistan by following an easy procedure.
Documents Required to Create an Amazon Seller Account from Pakistan
You do not need to have a lot of documents and follow complex procedures. To create a seller account on Amazon, you need to have the following documents ready with you:
- Bank Account Information and Statement
- Passport
- National Identity Card
When you have all these documents ready with you, you are good to follow the account creation procedure.
Step 1: Sign Up on Amazon’s Seller Website
- First of all, open the following website: Amazon.com/seller-account
- When the website opens, click on “Selling on Amazon”.
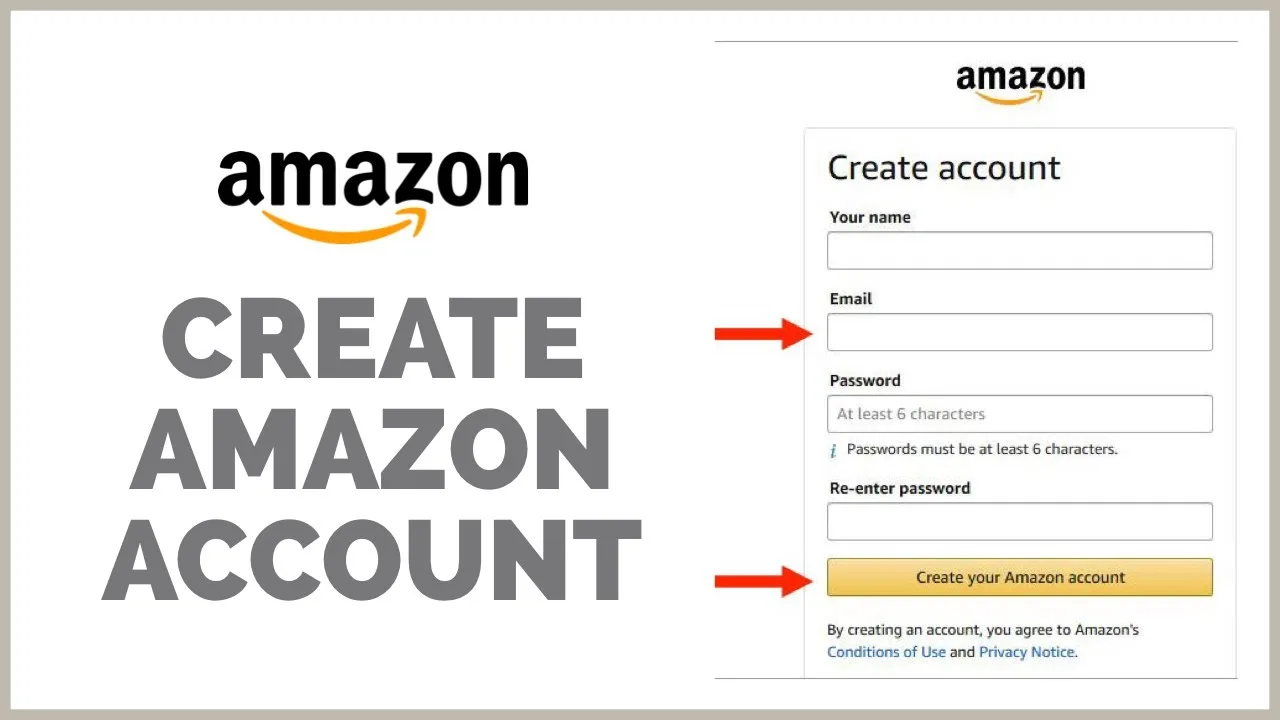
- Start signing up by entering your email address and password.
- Then follow the account creation procedure.
- After you have successfully signed up, click on “Manage your Account”.
- Insert your name, phone number, and valid tax identification number.
- Then, click on “Next.”
- Select your business type.
- Then enter all the necessary information that is required to sign up on your Amazon Seller account.
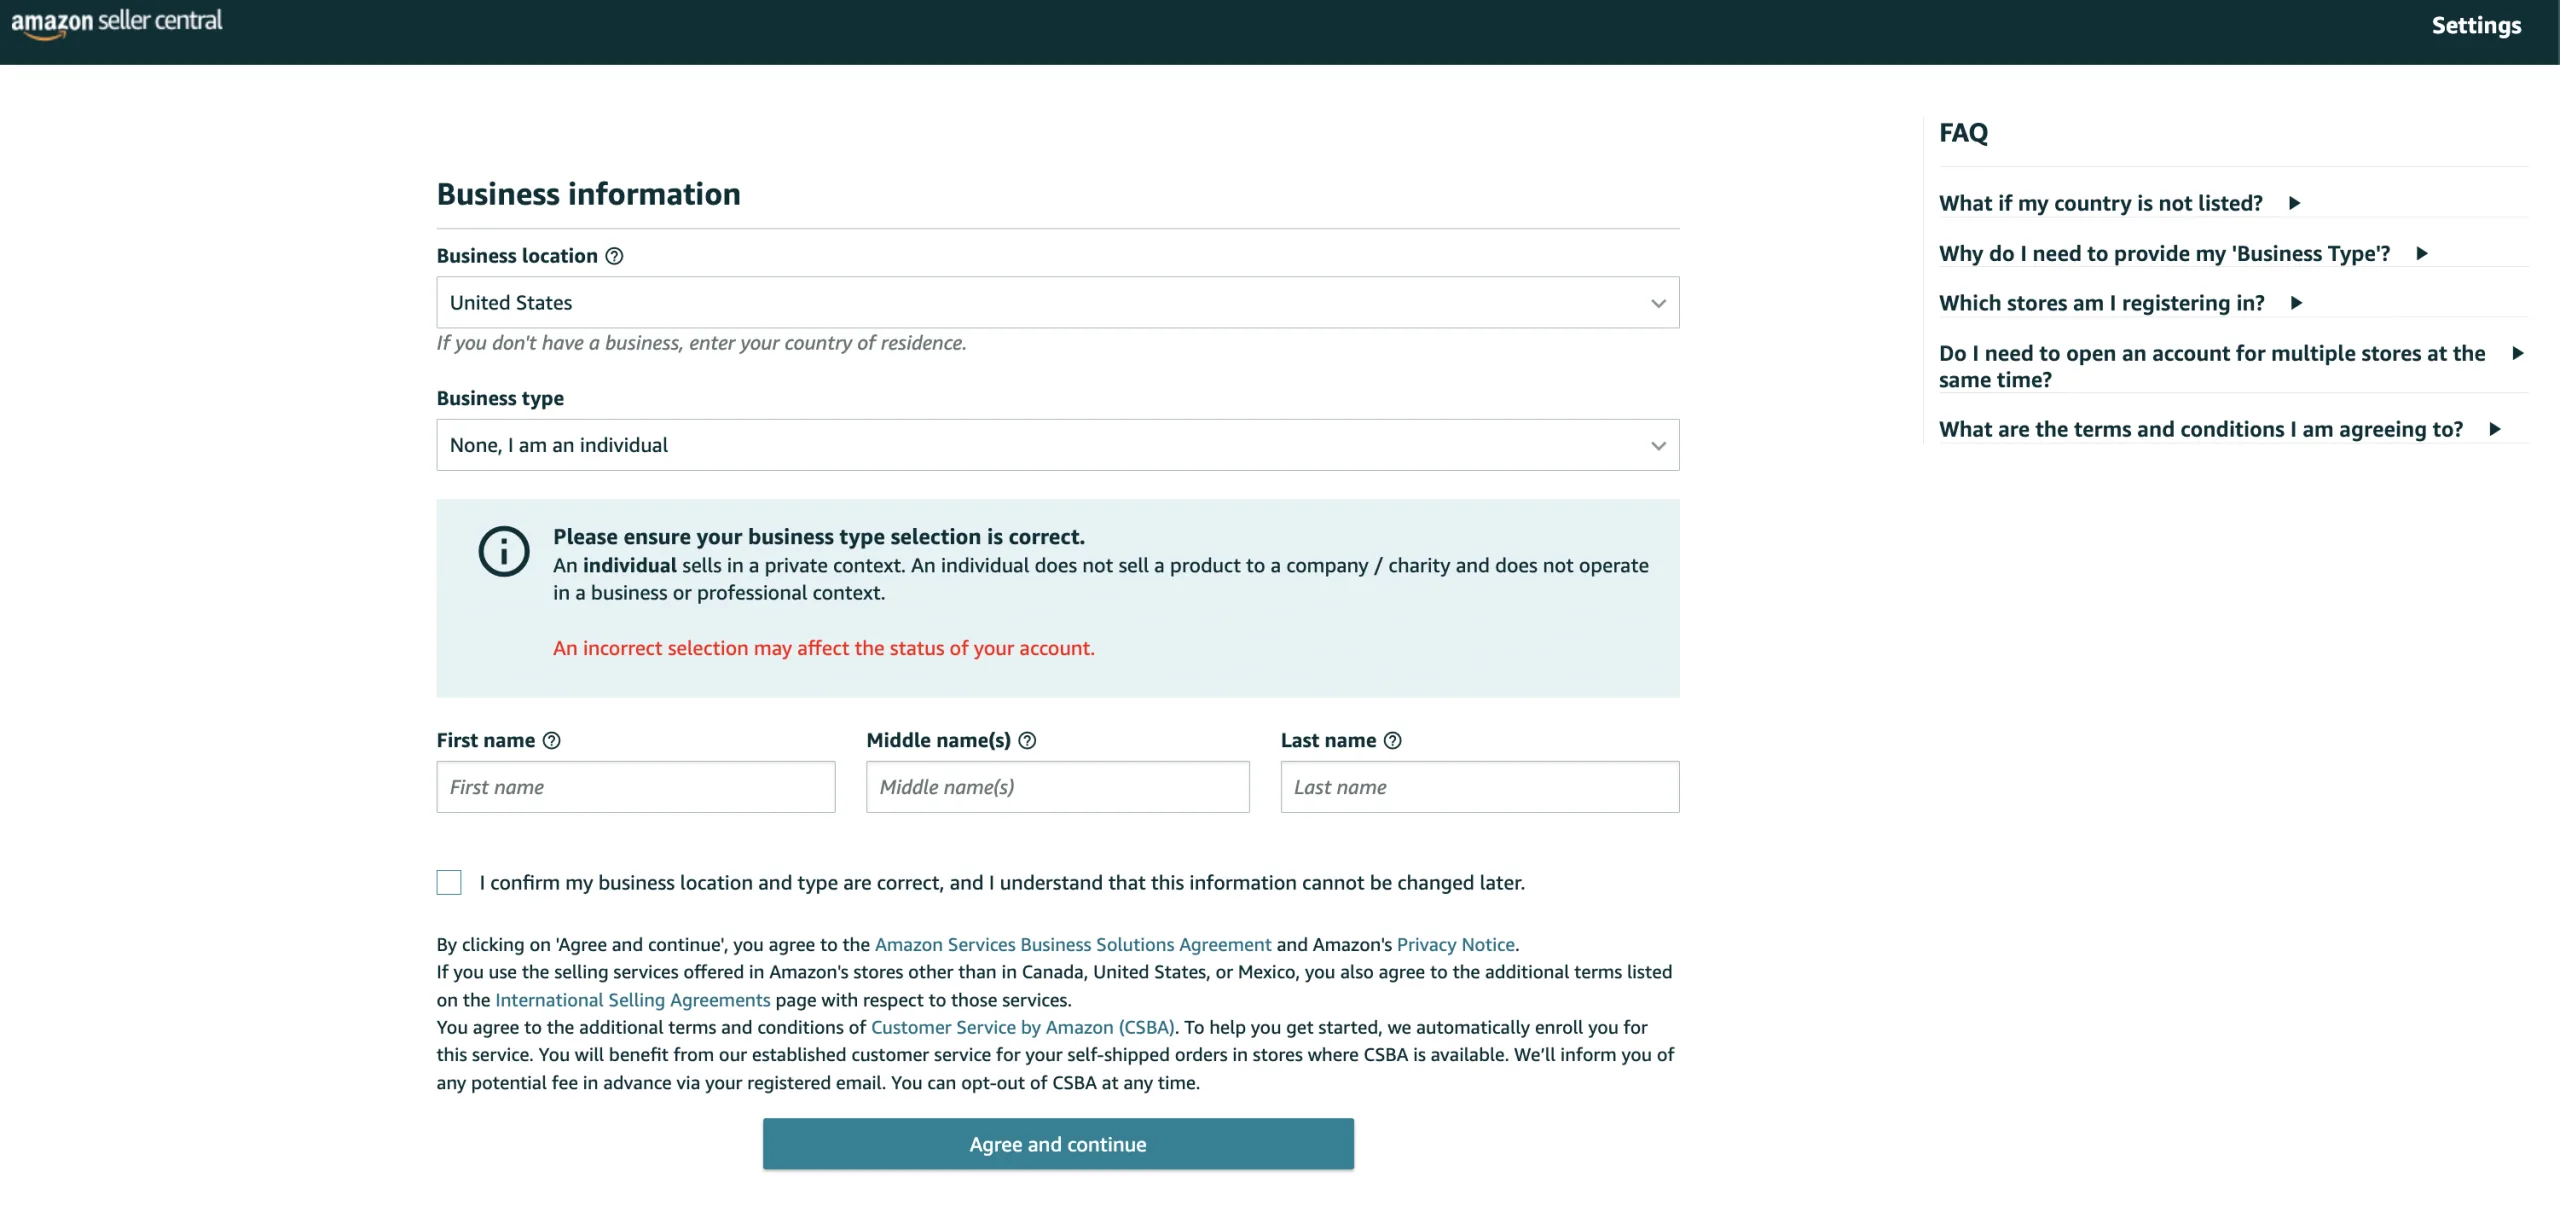
Step 2: Enter your Business Info
After completing the signup process, you need to enter your business information. It is vital to enter accurate information and double-check it for smoothly selling your products on Amazon. It includes the following details:
- Business name
- Primary Logistic method
- Website
- Business Contact information
- Credit Card details
- Business Location: Must be Pakistan as you are selling from Pakistan.
- Specify your Business Type
You can register as any one of the following business types:
- Public-owned enterprise
- Stet-owned enterprise
- Privately owned enterprise
- Philanthropic organization
- Or as an individual
Step 3: Enter Your Personal Information
Make sure that the information that you are providing is accurate so there is no issue in registering your account successfully.
- Name: Enter the name that is mentioned in your national identification documents or passport.
- Email Address: Provide a valid email address to receive notifications.
- Password: Create a safe and secure password that keeps your account safe and protected.
- Phone Number: Enter a valid phone number to receive a 6-digit verification code.
- Social Security or Tax Identification Number: Enter an accurate identification number for your country.
Step 4: Enter the 6-Digit Verification Code
You need to enter the 6-digit verification code to create an Amazon Seller Account from Pakistan. Here is the procedure to do so:
- You will receive a 6-digit verification code via SMS on the provided contact number.
- Enter the code on the website.
- Click ‘Confirm’ after entering the code on the website.
Step 5: Select your Market
You need to select your marketplace in order to complete your account creation. Follow the given steps:
- Marketplace selection: Select your marketplace from the Location of Amazon store section.
- Select the country where you want to sell your products on Amazon.
- Make sure that once you select the marketplace, you cannot sell in any other country than the selected one.
Step 6: Add Billing Information
Then you have to proceed to the bill procedure. You have to sign up for Amazon FBA (Fulfilled by Amazon) for the fee payment. You have to provide the information mentioned below:
- Credit Card Number: Amazon will charge the Fulfilled by Amazon fee on the given credit card number.
- The expiration date of the credit card.
- Enter the name that is written on the credit card for billing.
Step 7: About the Store
After setting up your account, personal information and billing information, it is time to move to provide information regarding your Amazon store and listed products:
- Mention your Amazon store name
- Specify whether your products have UCP codes or not.
- Mention if you have ownership of selling or manufacturing the products that you have listed.
- Show if you and your trademark are registered.
Step 8: Validation
The last step to create an Amazon Seller account from Pakistan is validation. You will need to follow these steps for your account verification:
- Amazon will do an address validation by sending a special verification code via postcard to the address that you provided while signing up.
- It may take up to 7 days to receive the postcard containing the special code.
- after receiving the postcard, you will also receive a guide to enter the validation code on Amazon’s website.
- Once you enter the code, your verification will be completed and you get access to the Amazon seller account dashboard.
- You can sign in by using your email address and password and start selling your goods.
Conclusion
Amazon provides a large seller base to individuals who want to expand their businesses. So, follow the above-mentioned process to create an Amazon seller account from Pakistan. then start adding your products to your Amazon store and enjoy the success and hike in your sales.


